Drawing Dimension Lines
The Dimension Tool  (keyboard shortcut CTRL+0 [zero]) is used to draw dimension lines. To draw a dimension line, click the Aligned, Horizontal, Vertical, Angular, or Radial button in the ribbon and then drag the line from one point to another to measure the distance. To offset the dimension line from the points measured, drag the pointer away from the dimension line. Based upon whether you have selected an aligned, a horizontal, or a vertical measure, Designer calculates the distance between the points and displays it in the units you specify.
After drawing a dimension line, you can easily reshape it and edit its other attributes, including text alignment, line thickness, and line ends. You can also edit the dimension line text, but be aware that doing so breaks the dynamic updating of the dimension line text.
| Dimension lines are generally added to a drawing after the drawing is created. To make it easy to align dimension lines to the endpoints of shapes, select the End Points option in the Rulers/Snap tab of the Options dialog box. Then use snap points to force the mouse pointer to move precisely to an endpoint. Use Dynamic Snap to be linked to the object. |
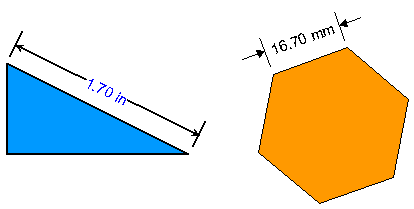
The Aligned button  lets you draw dimension lines that measure the diagonal distance between two points.
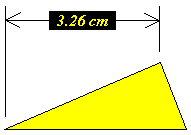
The Horizontal button  lets you draw dimension lines that measure the horizontal distance between two points. If two points are diagonal to each other, a horizontal dimension line still measures the horizontal distance between the points.
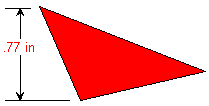
The Vertical button  lets you draw dimension lines that measure the vertical distance between two points. If two points are diagonal to each other, a vertical dimension line still measures the vertical distance between the points.